Linoleum Block Print DIY
So yesterday I went to the Stijl Art Fair in Mainz, Germany. It was amazing! So many creative people! You where able to buy furniture, artwork, accessories and clothing. We spend the whole day wandering around looking at everything and getting super inspired.

There was a booth from Dawanda.
DaWanda is the online marketplace for unique and handmade items. There are more than 270,000 shops on DaWanda that offer you products handmade with love, products that can be customised to match your ideas.
It was really cool! You where allowed to create your very own linoleum print. And I really want to share this super easy and fun DIY with you.
DIY Linoleum Block Prints
You need:
- a lino block
- gouges
- brayer
- linoleum ink(s)
- paper
- a pencil and eraser
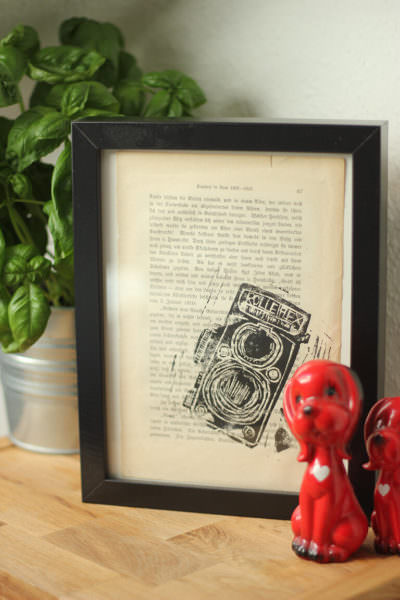
One you decided what design you want to create start sketching on the Lino block. I wanted to create a Rolleiflex camera.

Block printing works in reverse so if you use lettering make sure to write it in reverse.
Once you’re happy with the design you can begin cutting. Remember the raised areas are going to be shown printed. It’s called carving out the negative space. Be very careful while cutting. Lino is very soft and gouges are pretty sharp.
A neat trick to creating round shapes is to move the block in a circle instead of the gouge.


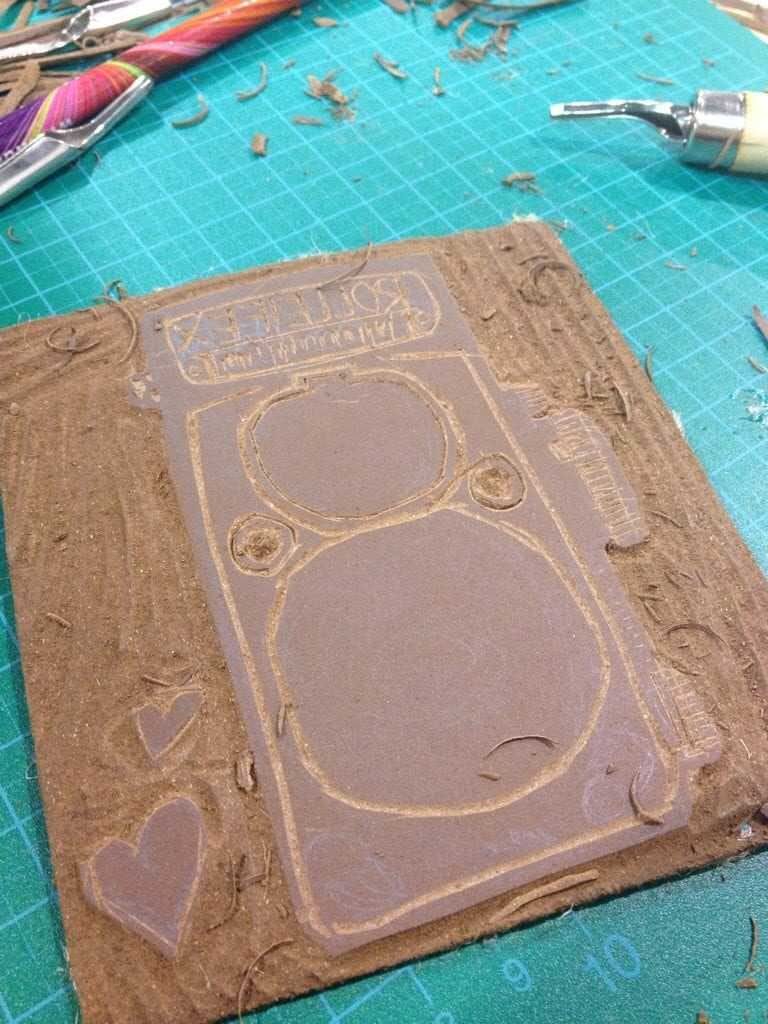
So I had to cut away a lot on the outside of my image. It took me over an hour until I was done. Once you’re happy with your design you can begin printing, hurray! Dawanda offered old books where you could rip out pages for printing
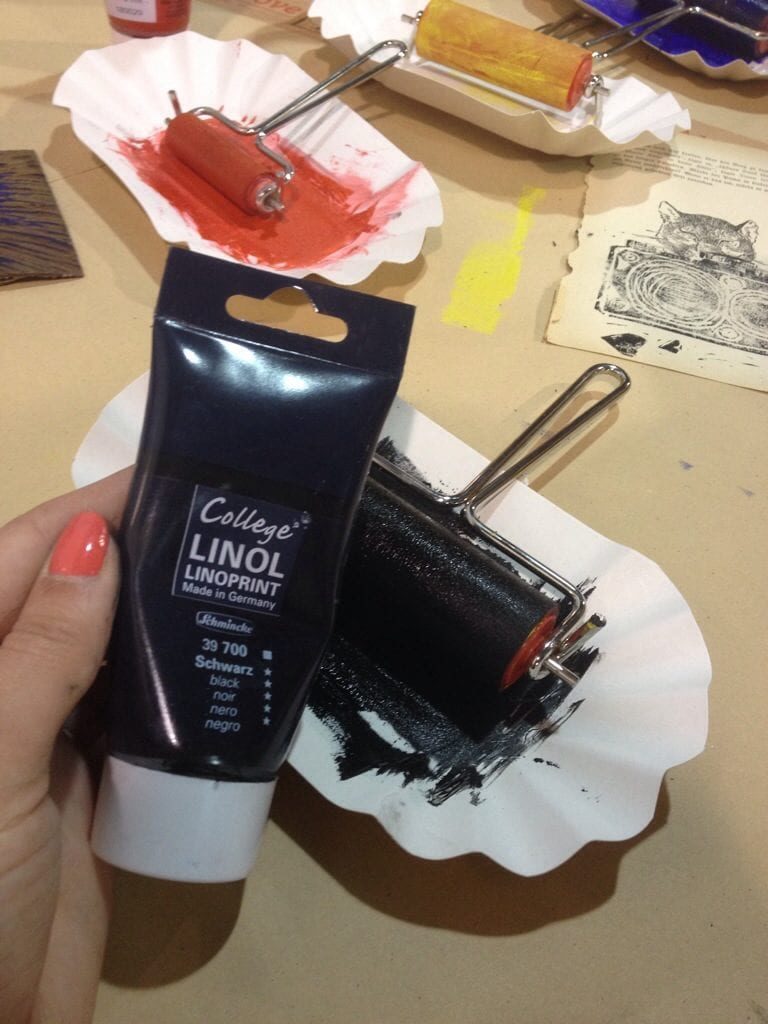
When you start printing make sure not to use too much paint or the creases will get filled with paint. A small drop is enough. Spread it evenly on the brayer. Than use the brayer on your Lino design.

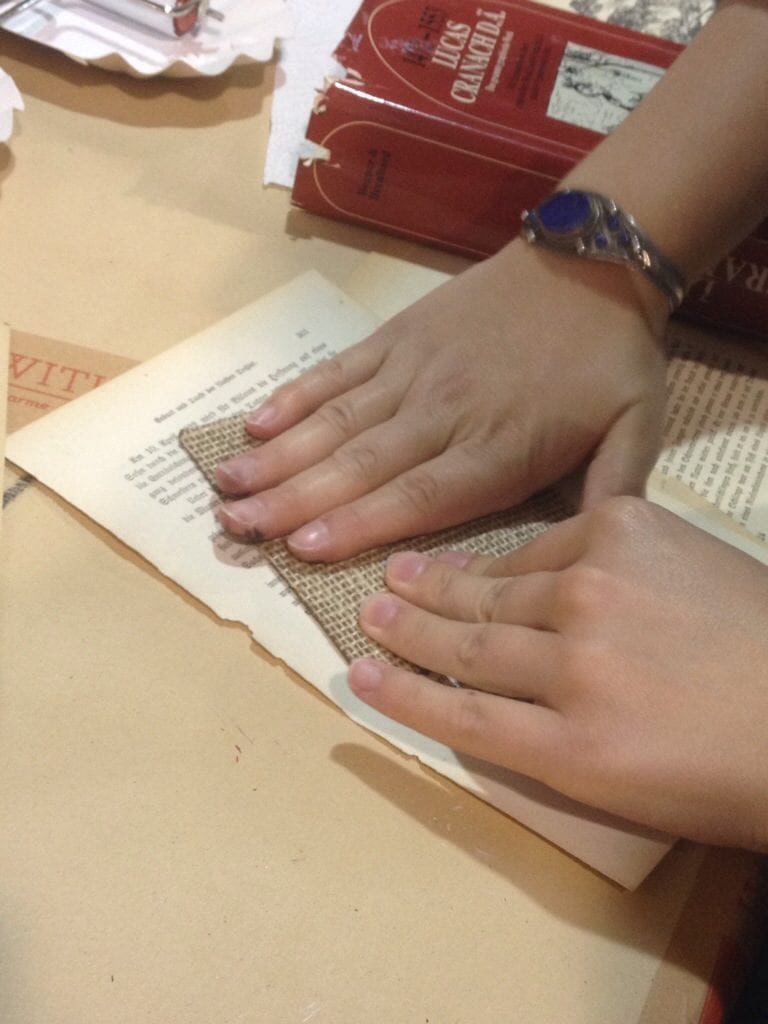
When you turn the block around use your hands or a big heavy book to press the block on the paper to evenly transfer the image. And voilá, done! 🙂 Let the print dry thoroughly. The good part about Block Printing is that you can easily create tons of copies of your creation. If you want to change colors make sure to rinse the ink off, let the block dry, and repeat the transfer process.
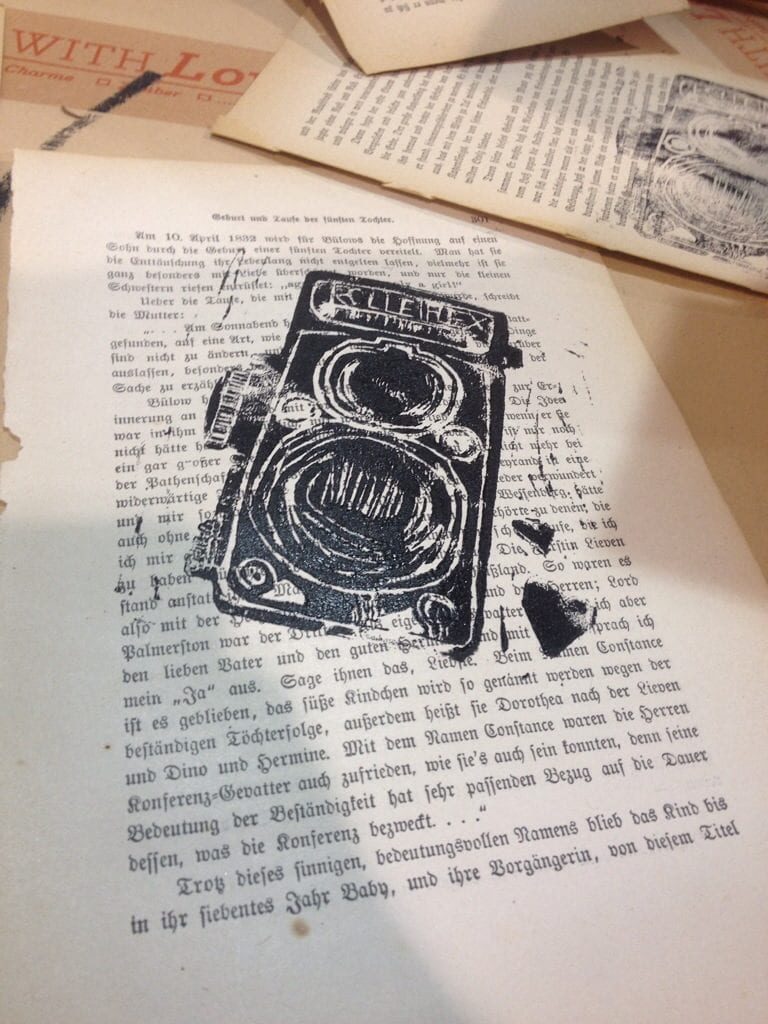
I really enjoy how this do-it-yourself turned out and my camera found lots of attraction. People sitting next to me asked me if they can do a print for themselves using my design! I guess it was worth sitting there cutting it for so long 🙂 Of course I let them print it. I felt quiet honored!
I was able to take some prints home and my lino design as well. It’s so much fun I’m actually considering doing it more often 🙂
Doesn’t it look great framed? Did you ever tried Lino printing? What are your experiences?