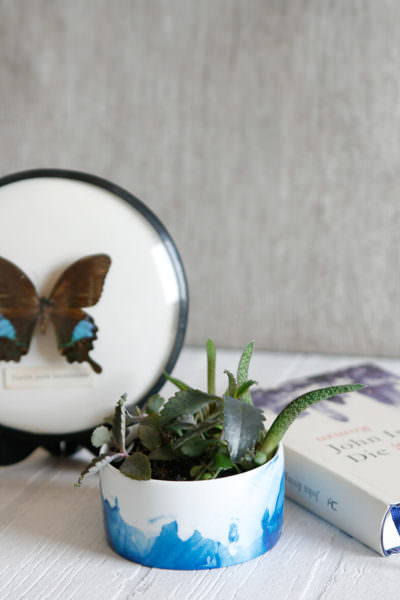
DIY Marbleized Planter
Marble is still absolutely trendy this year. You’ve probably seen one or the other marbleized decor item in stores. Unfortunately most of the time those items are pretty expensive so I decided that I can do it myself for way less $! This is an easy and fun projects to do at home by yourself, with friends or even with kids!
This Marble Dipped Planter Tutorial is so easy and pretty much done in 5 minutes. One of the best things about it is that it’s an upcycling tutorial. I already had plain colored planters at home that I was able to use for this DIY and I bet you also have ceramics at home that could use an update. Am I right?
Nail Polish Marbling is the whole trick here. You can give a marbled effect to ceramics in an instant! And trust me it’s quiet addicting I’m already thinking about what to marbleize next.
And because we use nail polish here the color options are pretty much endless! I used a blueish hue which gives it a watercolor like feel to it. You could even combine multiple colors at once and create a layered style.
I started out with a white boring planter that I wanted to spice up but you could also use a coffee mug or a vase and marbleize it. Pretty much any ceramic will work! It also doesn’t have to be white ceramics. What about a black coffee mug that you marbleize with white nail polish? That would look so classy!
With wedding season upon us marbled ceramics would also make a great wedding favor, a housewarming gift or in general a cute handmade birthday present. Now lets get started on our Nail Polish Marble tutorial, shall we?
How to Marbleize a Planter:
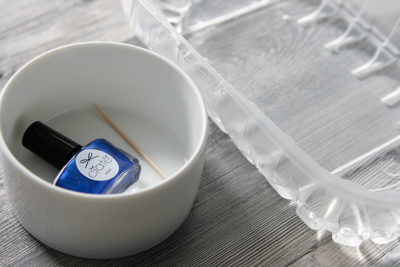
Materials:
- Nail Polish in desired color
- Container
- Warm Water
- Toothpick
First things first: You’re working with nail polish so make sure to do this tutorial in a well ventilated place. You also have to act really quick. It took me a bit until I figured out how to do it right. The nail polish will dry really fast once you add it to the warm water so make sure you have everything on hand. Don´t add it to cold water as this will dry up the nail polish in seconds.
I recommend not to use super fancy nail polish for this DIY because it might take a couple of turns until you get the hang of it and your bottle will be most likely empty by than.
Fill your container with some warm water and add droplets of nail polish.You can even add multiple colors if you like.
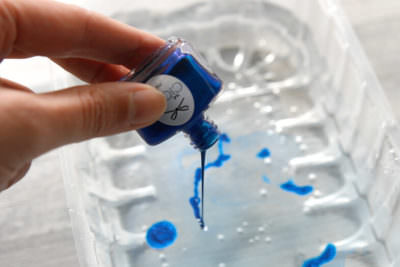
Stir the nail polish quickly with the toothpick until you create nice swirls. This step is optional because you might be already happy with the swirls you created while pouring the polish into the water.


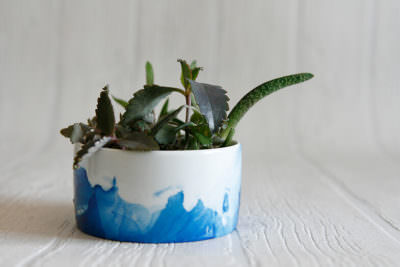
Dip the planter in. I dipped it multiple times on different sides of the planter so that it got nicely covered on all sides.
Let it dry. Once it’s dried you can repeat the procedure with another color if you like.
Optional: Once it’s dry you can remove the excess nail polish on the bottom of the pot. I used some nail polish remover to clean up the bottom and some messy spots on the inside that I created with my clumsy nail polish covered fingers.

And now plant whatever you fancy in your pretty new flower pot!
Das ist eine sehr schöne Idee! Auf dem Bild, das als Beitragsbild ausgewählt ist, kann man den Topf nicht so leicht erkennen, aber so wird man für das Klicken belohnt 😉 Dieses DIY muss ich unbedingt nachbasteln!
Viele Grüße, Jean
Hallo Jean!
Freut uns, dass dir der Beitrag so gut gefällt! Vielen Dank für den Hinweis. Vielleicht tausche ist das Bild besser nochmal aus 🙂
Viele Grüße, Annika
Das sieht sehr schick aus’!
Hi Evy, vielen Dank für deinen Kommentar! Wir finden den Blumentopf auch echt stylisch 🙂